
Implementing a door access control system is an excellent way to enhance security for residential, commercial, or institutional buildings. It allows you to regulate who can enter a specific area and ensures that only authorized individuals have access. Setting up an access control system might seem complex, but by following this guide, you can successfully install one and improve your security infrastructure. Here’s a comprehensive step-by-step breakdown of how to set up a door access control system.
Table of Contents
Step 1: Understand the Basics of Access Control Systems
Before diving into installation, it’s important to understand the components and how they work together. A basic access control system includes:
- Access Points (Doors, Gates, etc.): These are the locations where you want to restrict entry.
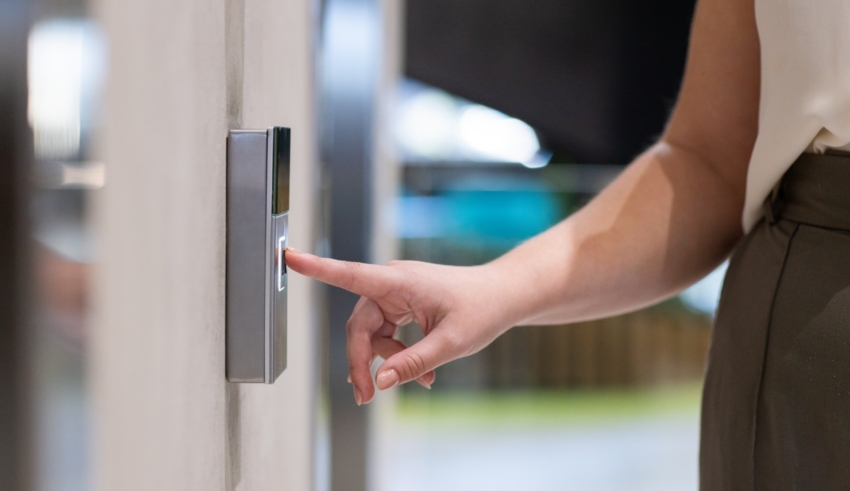
- Reader (Card, Keypad, or Biometric Scanner): This device reads credentials, like access cards, PINs, or biometrics.
- Controller (Door Controller): The brain of the system, which verifies credentials and decides whether access should be granted.
- Credentials (Key Cards, Fobs, PINs): The method used by authorized personnel to gain entry.
- Lock Mechanism (Electric Strike, Magnetic Lock): The locking system that opens or remains locked based on controller input.
Step 2: Plan Your Access Control System
- Number of doors: How many doors will need access control?
- Types of access: Will you use keycards, fobs, PIN codes, or biometrics?
- User permissions: Do all users need access to all doors, or will you restrict access to specific areas?
- Wired vs. Wireless: Will your system use wired components, which may be more secure but more difficult to install, or wireless ones, which are easier to implement but may need robust encryption?
Once you’ve defined the scope, create a detailed map of the areas where access control will be installed, indicating door locations, reader placements, and wire routes (if applicable).
Step 3: Choose the Right Equipment
After planning, purchase the necessary equipment:
- Door Readers: Choose readers compatible with your preferred credentials (card, PIN, biometric).
- Door Controllers: Ensure they are compatible with the number of access points you’re covering.
- Locks: Electric strikes are suitable for swinging doors, while magnetic locks may be better for areas requiring strong security.
- Power Supply: Access control systems require reliable power, so ensure that you have a backup power source, like a battery, in case of outages.
- Access Control Software: Many modern systems come with management software for tracking entries, creating user profiles, and generating reports.
Step 4: Install the Hardware
Now it’s time to physically install the components:
- Mount the Readers: Place the readers next to the door at a comfortable height (about 48 to 52 inches from the floor). Ensure that readers are in weatherproof enclosures if placed outdoors.
- Install the Locks: Electric strikes or magnetic locks need to be installed on the door frame. Ensure they align with the locking mechanism on the door and are securely mounted. Test the lock’s functionality before moving to the next step.
- Install the Controller: The controller typically resides in a secure area, such as a server room or closet. Wire the controller to the readers and locks according to the manufacturer’s instructions. Use shielded cables for long wiring distances to prevent interference.
- Connect the Power Supply: Ensure the controller and the locks have reliable power, using a dedicated power supply or PoE (Power over Ethernet) if supported. Install a battery backup or UPS to prevent power failures from disabling the system.
Step 5: Configure the System
Once the hardware is installed, you’ll need to configure the software:
- Set Up User Permissions: Create user profiles for each individual who will need access. Assign access credentials (cards, PINs, or biometrics) and determine which doors they can access and during which timeframes.
- Integrate the System: If your system is part of a broader security infrastructure (such as surveillance or alarms), integrate the access control software with those systems for centralized management. Configure logging and reporting settings to track entries, exits, and access violations.
- Test the System: Test the entire system to ensure everything is functioning correctly. Check that each reader is reading credentials properly, that the controller is unlocking the doors when access is granted, and that all doors are secure when denied.
- Fine-Tune Settings: Adjust any delay settings on the doors, such as how long they remain unlocked after access is granted. Fine-tune user permissions and door schedules as needed.
Step 6: Train Users and Monitor the System
Once the system is fully operational:
- Train users on how to properly use their credentials, whether it’s swiping a card or entering a PIN.
- Regular Monitoring: Use the software to monitor access logs and ensure there are no unauthorized attempts to gain access.
- Perform Maintenance: Regularly check the hardware for any signs of wear or damage. Keep the software updated to ensure security patches are applied.
Setting up a door access control system is a highly effective way to enhance security and streamline entry management. By carefully planning, choosing the right equipment, and following a structured installation process, you can ensure your access control system functions seamlessly. After installation, ongoing monitoring and maintenance will help ensure that your system continues to operate smoothly and provides the level of security your building needs. For more information on internal fire doors you can find out more at Larnec Doors and Systems.


